Local Angle: What Early-Season Snow Means for Alpine Villages
Early-season snow reshapes Alpine village life fast — road crews, seasonal jobs, water reserves and old...

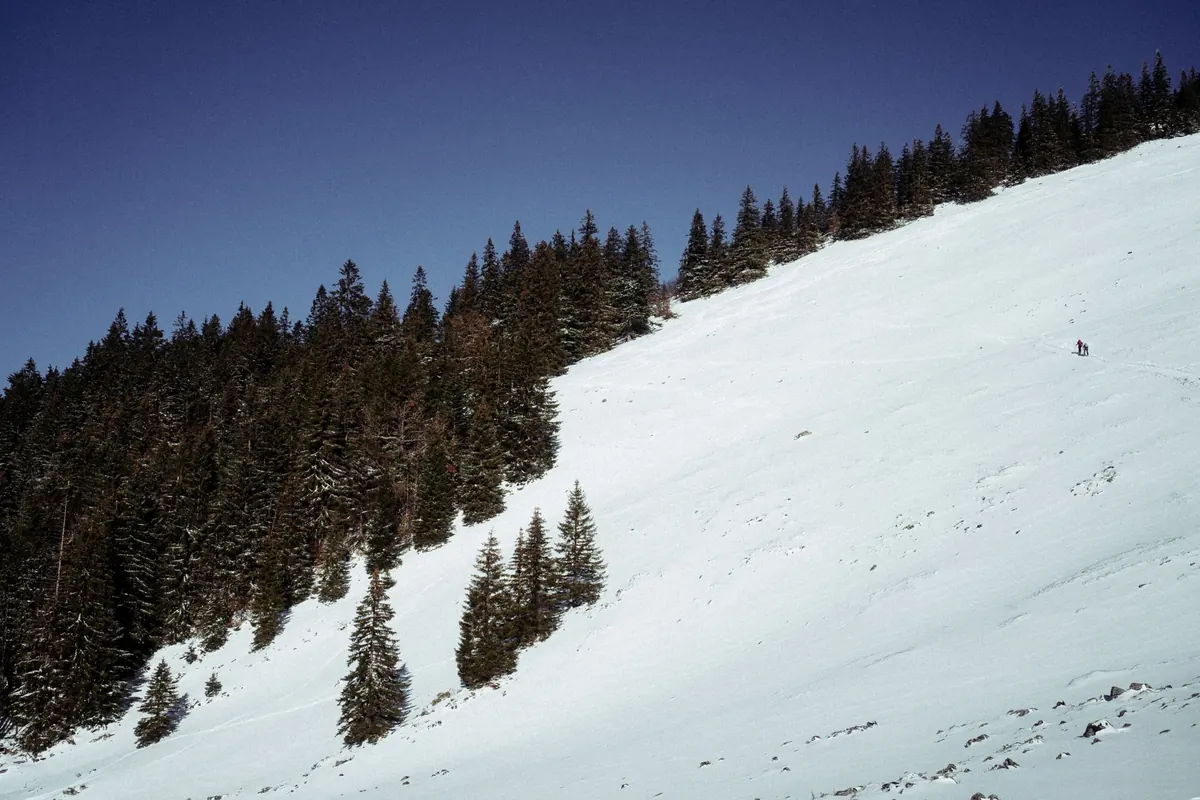
You can spend an entire winter on foot in the mountains and never touch a ski slope. Forest tracks, snowshoe routes to a mountain hut, the drive over a pass to visit family — none of it needs a lift ticket, and any of it can put you underneath a slope that slides. Avalanche bulletins are free, written by forecasters who know the local ranges, and take about four minutes to read once you know which parts matter. The problem is that they are written in a compact, technical shorthand aimed at people who already know the vocabulary. Here is the vocabulary, in the order you actually need it.
Bulletins are regional, not national. Most mountain countries publish them by massif, province or range, because the snowpack on one side of a valley can behave nothing like the snowpack on the other. Reading the bulletin for a range 80 kilometres away tells you almost nothing useful about the slope above your path.
Once you have the right page open, look at the top for two things: the time of issue and the validity period. Many services publish an afternoon bulletin covering the following 24 hours and refresh it in the morning. That matters, because a bulletin is a forecast with an expiry date, not a permanent fact about the mountain. A page printed at 16:00 yesterday is a description of yesterday's problem. Check the trend arrow too — the line that says whether conditions are expected to improve, hold steady or worsen. A falling trend with heavy snow forecast is a different message from a rising one after a settled week.
European bulletins use a five-step scale: 1 Low, 2 Moderate, 3 Considerable, 4 High, 5 Very High. The temptation is to treat 3 as "medium, so probably fine". That is the single most common misreading of an avalanche bulletin. Considerable is the level at which a great many serious incidents happen, precisely because the terrain still looks inviting and the number sounds middling.
Level 3 does not mean the mountain is one-third dangerous. It means a person can trigger an avalanche in the places the bulletin names, and those places may be exactly where you wanted to walk.
Roughly speaking: at 1, triggering is unlikely except in isolated pockets; at 2, it is possible on steeper, high-elevation or wind-loaded features; at 3, triggering is possible with the weight of a single person on the slopes and aspects described; at 4, triggering is likely and natural avalanches are possible; at 5, widespread natural avalanches are expected and avalanche terrain should be avoided entirely.
Note that the headline number is often a summary. The detail underneath is usually split by elevation and direction, and that detail is what applies to you.
Bulletins divide the mountain vertically — often as below tree line, near tree line and above tree line, or with hard thresholds such as "above 2200 m". Read the band that covers the highest point of your route, not the car park.
A practical example: a hut sits at 1850 m, the track to it climbs to 2200 m before dropping, and the bulletin puts the danger at Moderate below 2000 m and Considerable above. Your walk spends half an hour in the Considerable band. That half hour is your decision point, not an afterthought to the flat section at the start.
Elevation also changes the snow itself. Wind is stronger up high, snow is deeper, and temperature behaves differently — the mountain can be warmer than the valley during an inversion, which affects how wet and heavy the surface becomes.
Aspect just means which way a slope faces: north, north-east, east, and so on. Bulletins flag the directions where the problem sits, and they do it for two reasons.
The first is sun. South and west-facing slopes warm through the day, form crusts, and in spring produce wet snow avalanches in the afternoon. North and east-facing slopes stay cold, and weak layers buried deep in the snowpack can persist there for weeks.
The second is wind. Wind picks up snow from one side of a ridge and drops it on the other, building fresh slabs on the sheltered — leeward — side, and cross-loading gullies. If the bulletin says the problem is on north and north-east aspects above 2200 m, find those slopes on your map. If the path you had in mind runs beneath a north-east-facing bowl, you have found your answer without leaving the kitchen table.
Snow conditions change within a single day, and the bulletin cannot chase them hour by hour. So apply the day's weather to what you read.
Snow falling during your walk adds weight to the slopes in real time. Wind during the day builds new slabs while you are out. Strong afternoon sun softens the surface on sunny aspects. A route that is reasonable at nine in the morning can be a different proposition at three, especially in late winter and spring. Check the weather forecast alongside the bulletin, and give yourself an earlier start than you would in summer, plus a firm turnaround time.
The last part of the page usually names the avalanche problems — new snow, wind slab, a persistent weak layer, or wet snow — and gives a sense of how likely a person is to trigger one and how big it would be. Run these five questions against your plan:
Slope angle is the other half of the picture. Dry-slab avalanches become a real concern on slopes around 30 degrees and steeper, and the classic range runs from roughly 30 to 45 degrees. Below about 30 degrees, the risk drops sharply, which is why low-angle meadows and valley-floor tracks are the sensible default on a doubtful day. On a map, look for slope shading or use an inclinometer; guessing at steepness from a photograph is unreliable. Stay well back from corniced ridgelines, too — they break further back than they look.
If the information is ambiguous, take the lower route. A bulletin is guidance for informed terrain choice, not a green light, and the absence of a warning is not a guarantee. Anyone planning to spend real time on snow — snowshoeing off track, crossing passes, approaching huts in winter — will get far more out of a short avalanche awareness course with a qualified mountain guide or national avalanche association than out of any written guide, this one included. Treat the four minutes with the bulletin as the habit that keeps the rest of the day ordinary.
Photo: Louis Sulejmanovic / Pexels
Early-season snow reshapes Alpine village life fast — road crews, seasonal jobs, water reserves and old...
A practical guide to picking winter boots for icy, slushy alpine village streets — grip, insulation,...
A first-person account of reaching an Alpine refuge as snow closes in, from the boot room and communal...